PROJECT // Kitchen Pantries Before + Afters
Oh Pantries! How I love organizing these little (and sometimes big) spaces!!
It always starts the same way...checking those handy expiration dates. It's amazing how many items are hidden inside the pantry that expired one, two, sometimes eight years ago. Once we've cleared the clutter, it's time to get things in order.
No matter what the space looks like, my goal is to create zones on the shelves that fit the family's lifestyle. These could be anything from beverages, to breakfast, to baking, to grab-and-go snacks.
Pantries are also the space in your home that gets replenished most often, so labeling is uber-important. My favorite markers for labeling are these chalk markers that come in such vibrant colors and work on tons of different surfaces. White and black are certainly the go-tos, but adding a pop of color is so fun, especially when kiddos are using the space.
Pantry #1:
A busy family of four (kids ages 3 and newborn) needed to figure out the best way to function in their spacious walk-in pantry. One kiddo has food allergies, so we needed to keep her snacks separate from mom + dads. And with a newborn, our goal was to create an open shelf to house bottles, drying racks, etc. Mission accomplished!
TIP: If using plastic containers (my favorite are from OXO) to store cereal or snacks, make sure to add an expiration date to the container to ensure things are fresh!
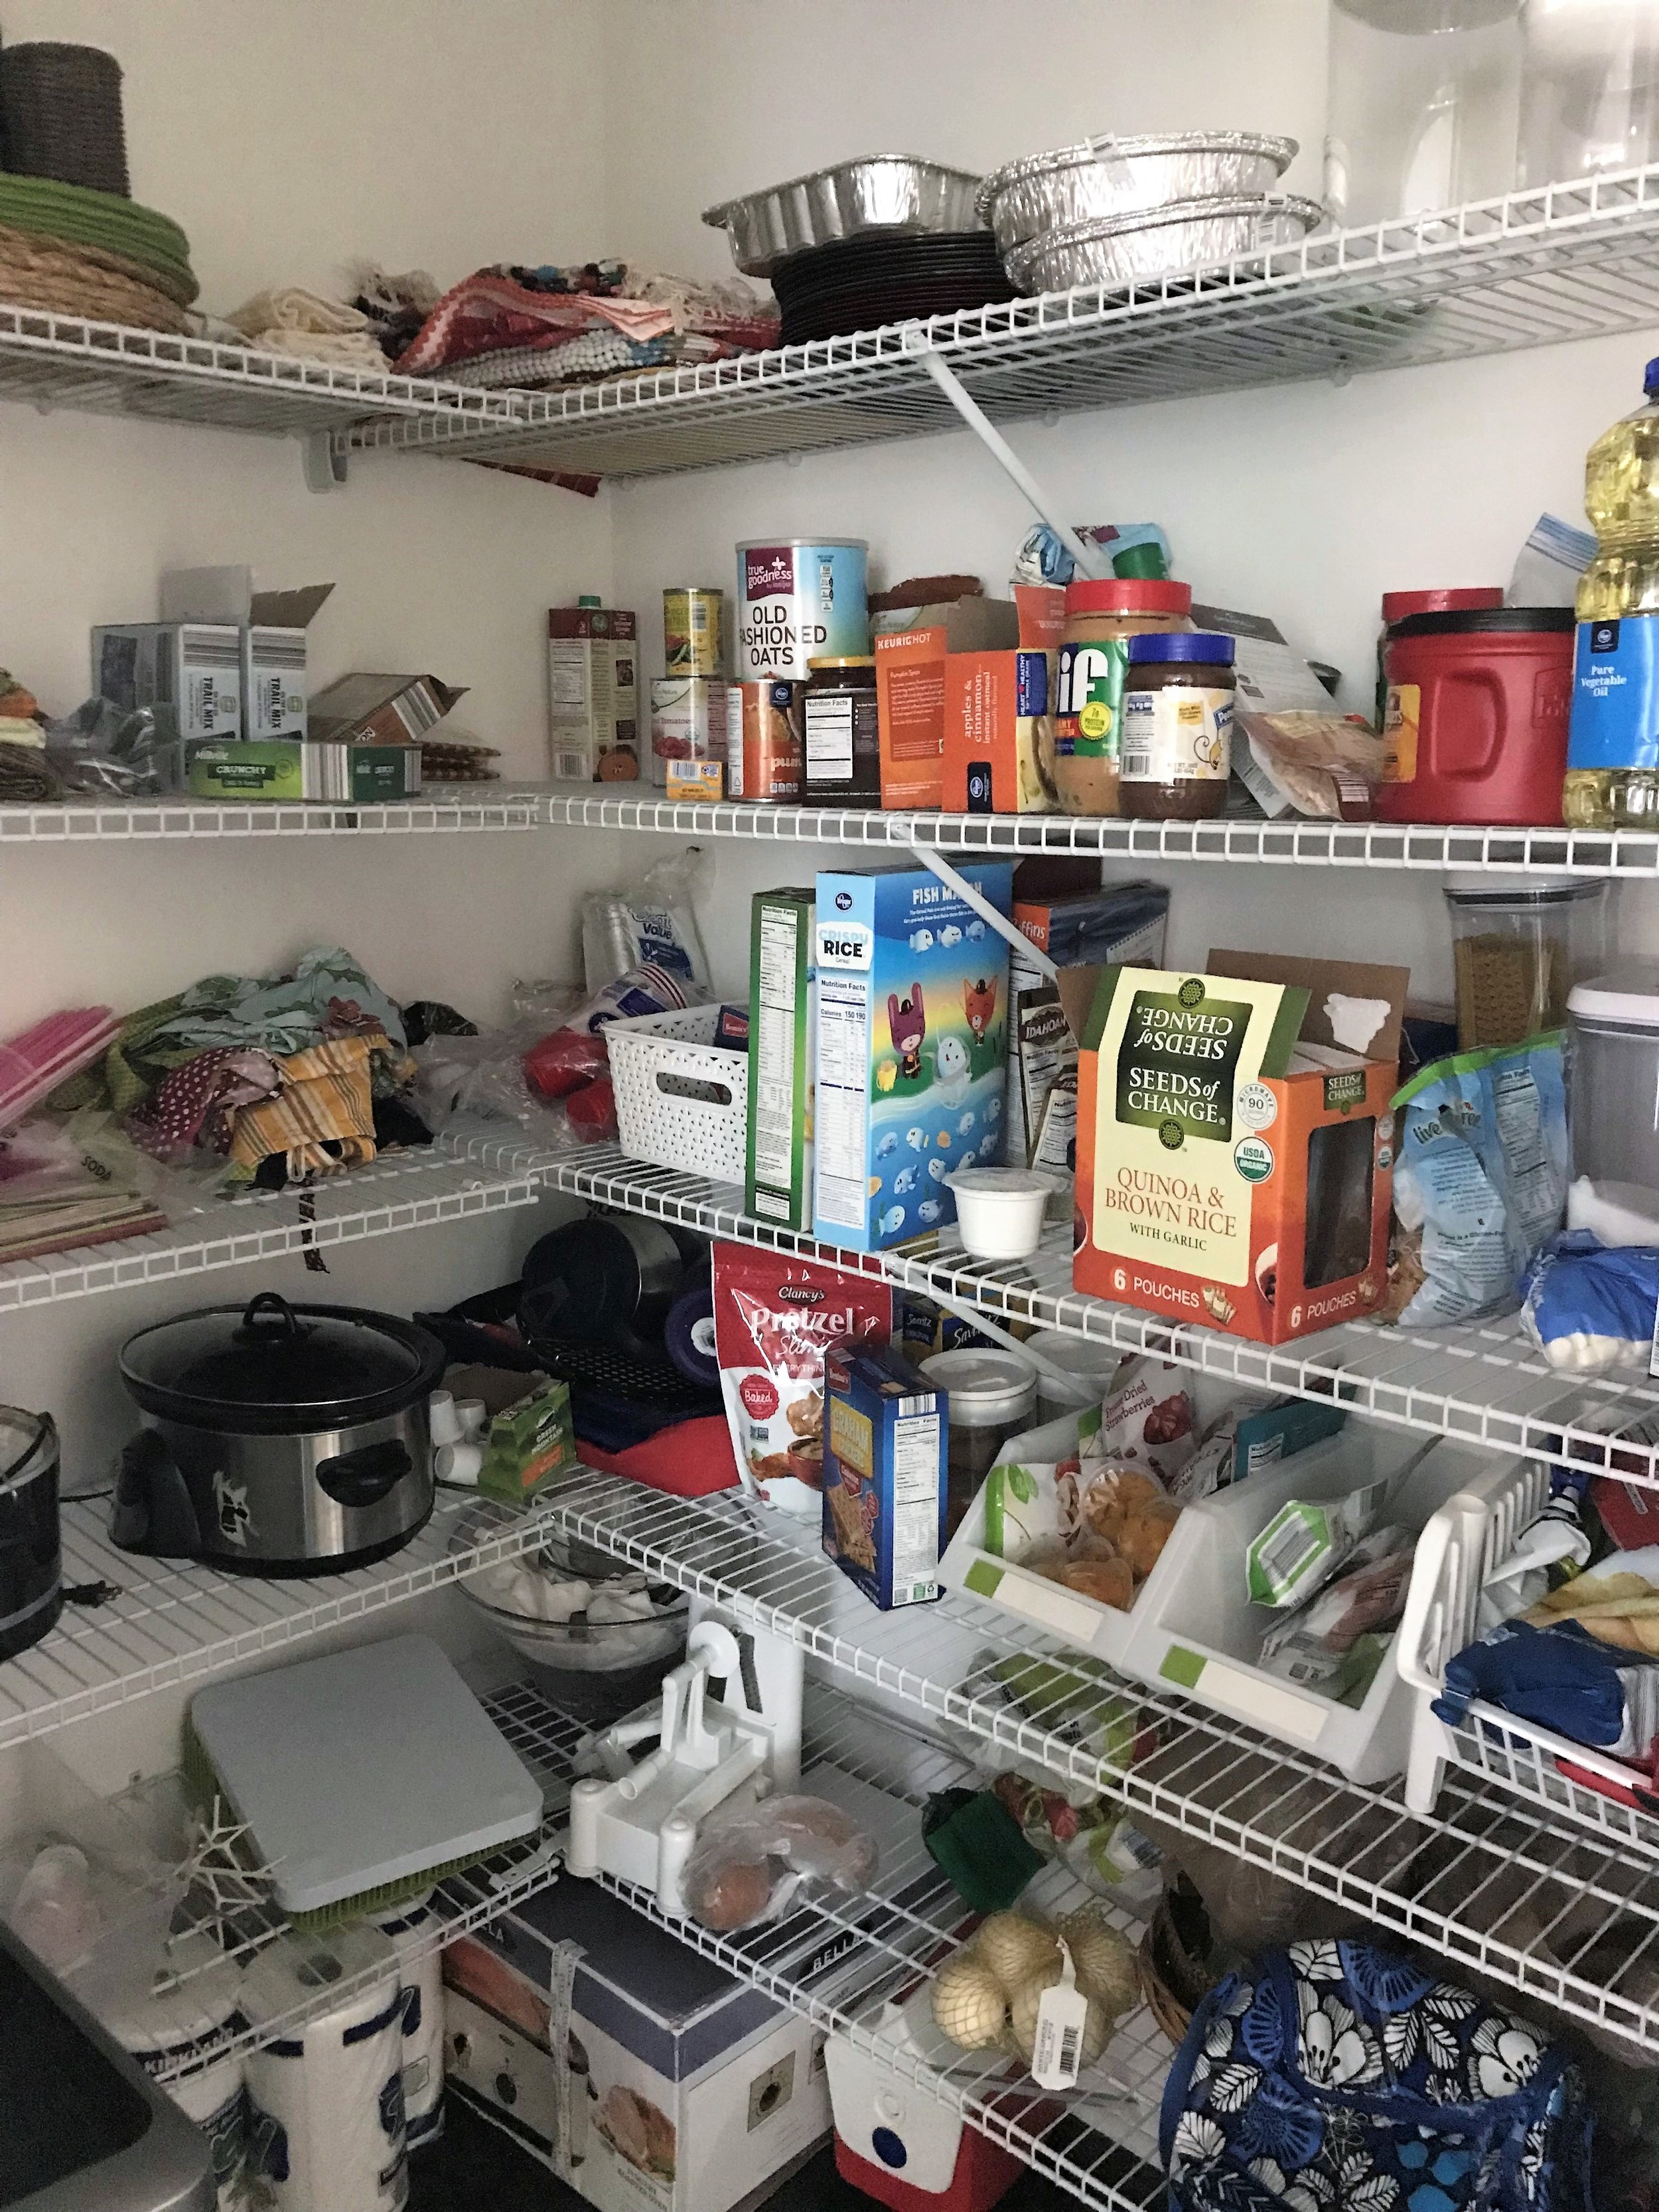
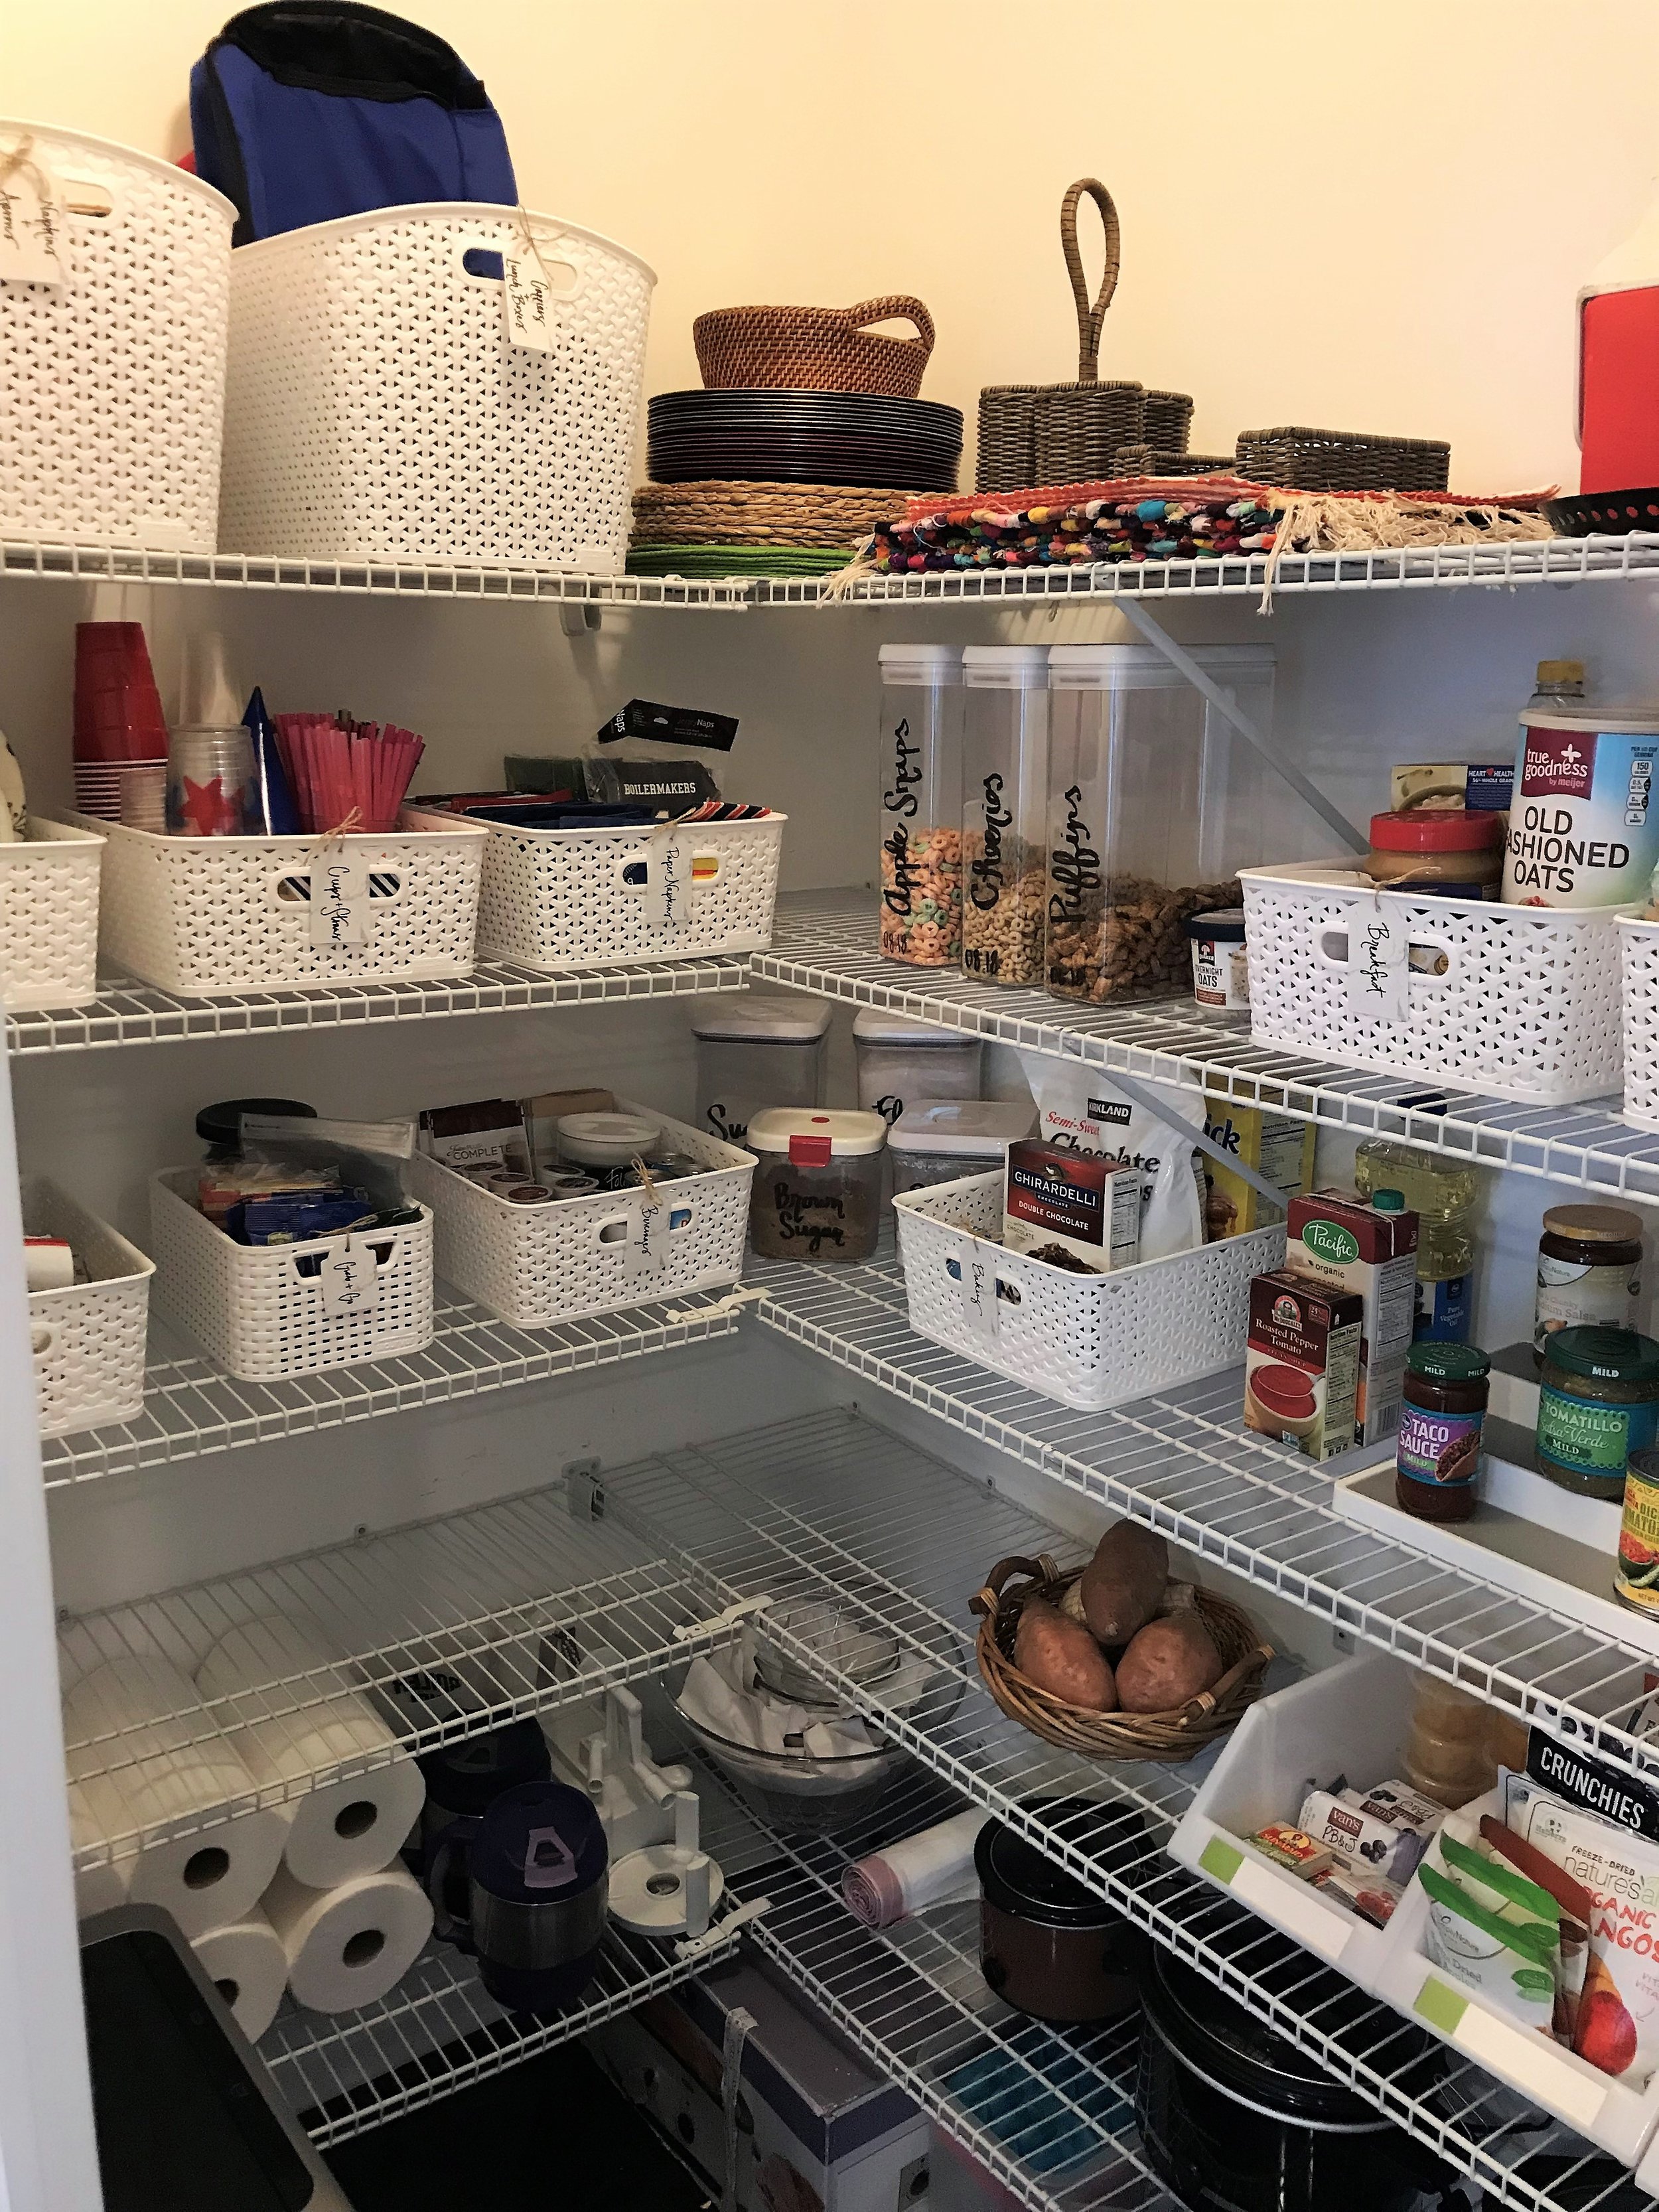


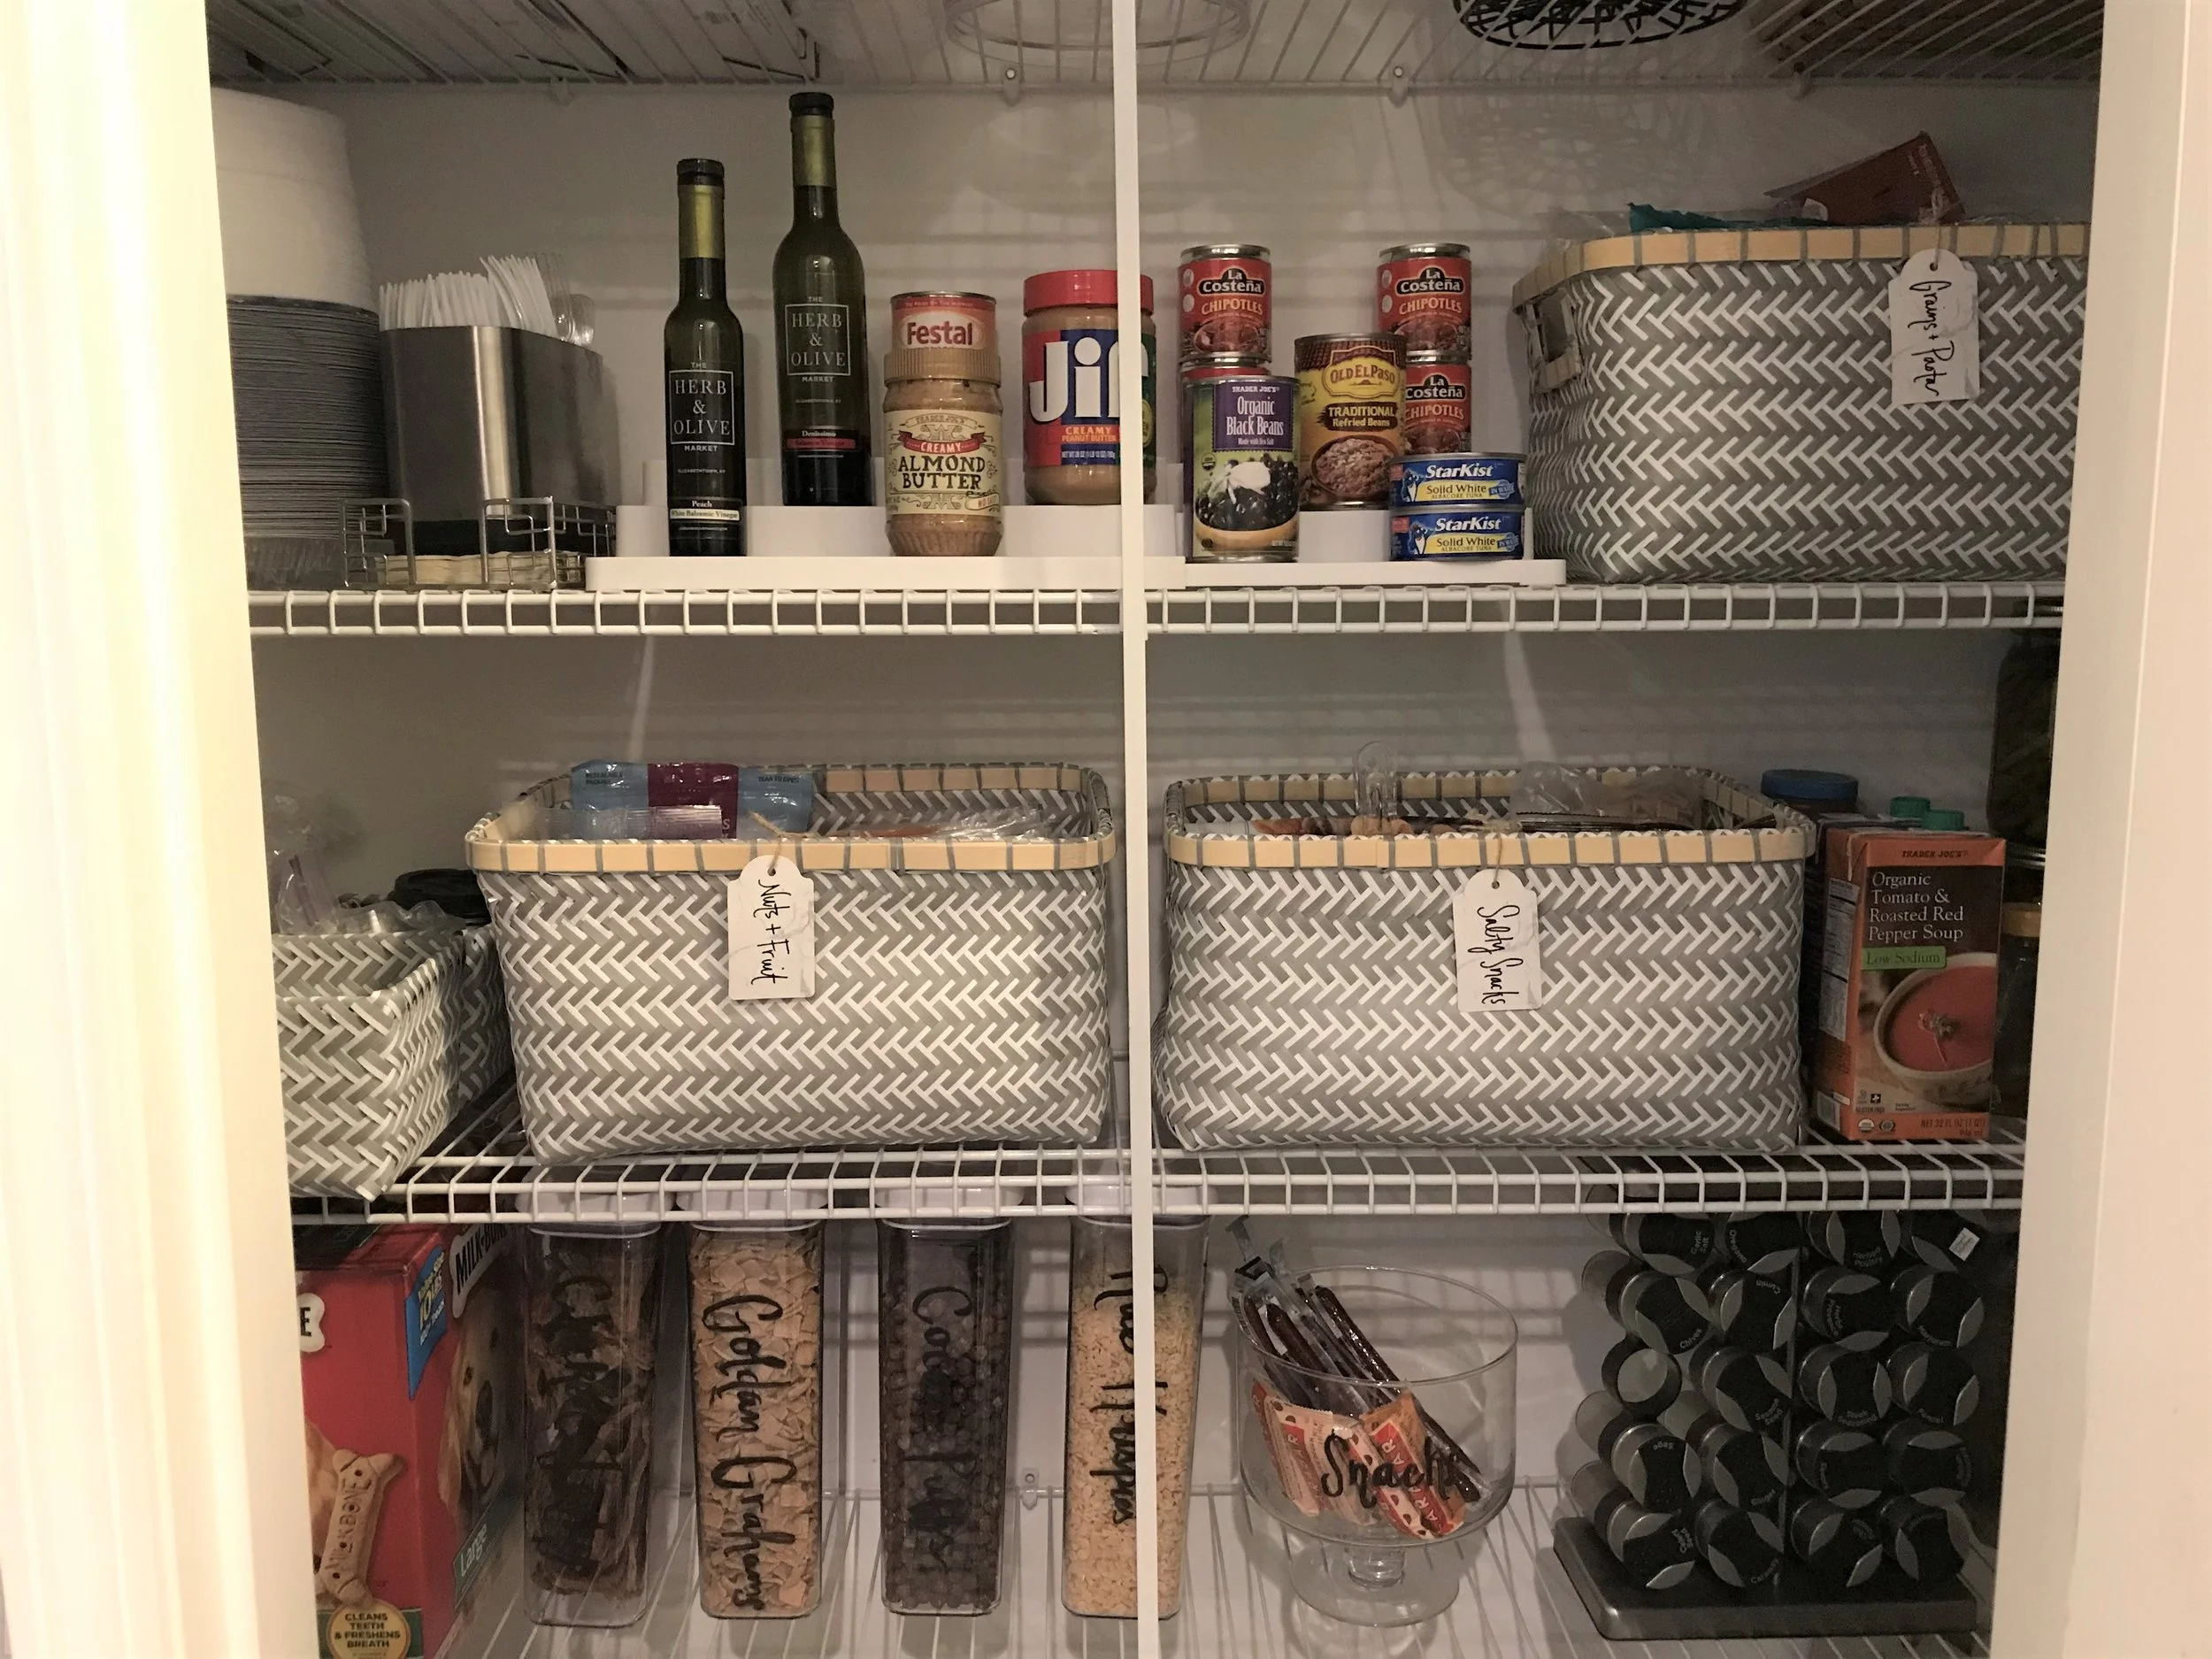
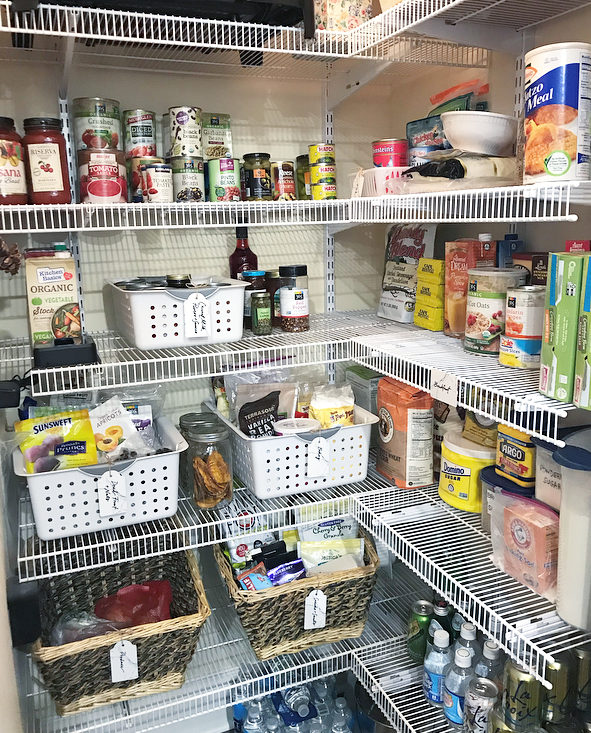
Pantry #2:
I loved this space, because it was not just the areas you see pictured here. You were able to reach in for an additional 16" of space on both sides. Dream! This pantry was also done in two stages, so Photo One shows the before state, while Photo Two is at the end of the initial session. This client wanted matching baskets, so Photo Three and beyond shows our progress AFTER a shopping trip to Container Store and Target.
TIP: Utilize harder to reach shelves for items used less frequently, like entertaining supplies, allowing the most important items to stay front and center.


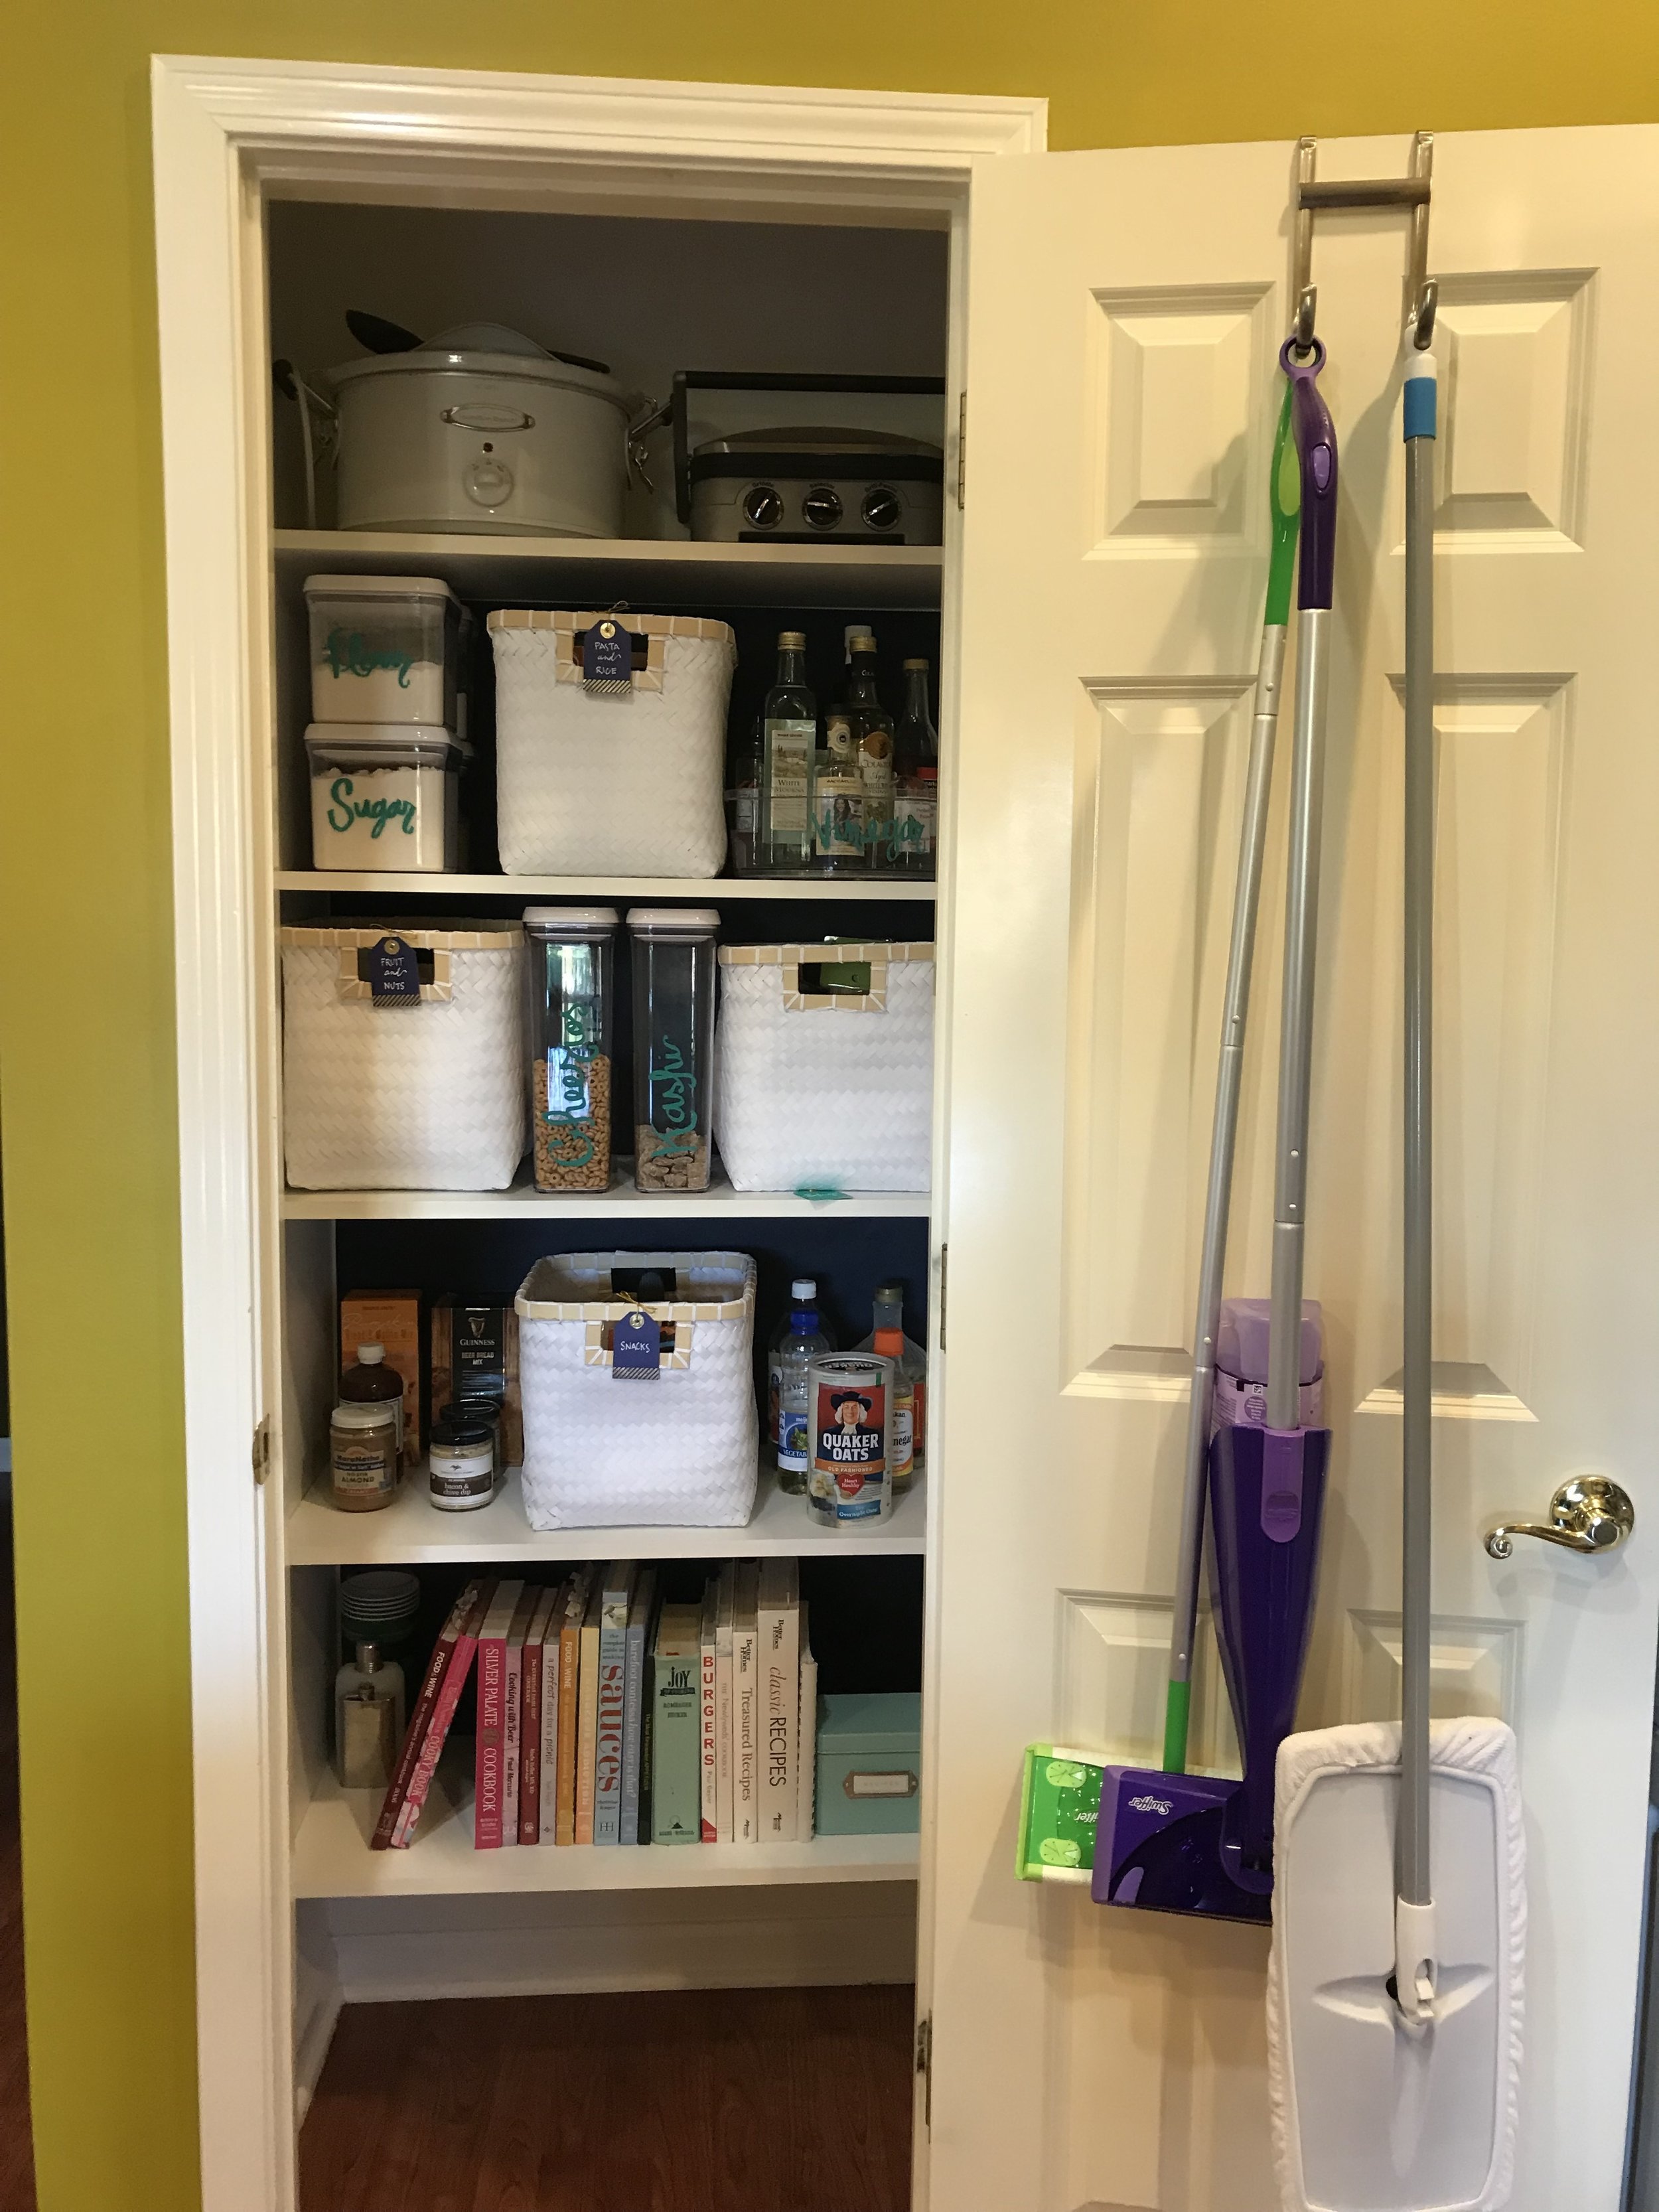
Pantry #3:
Here is a peek at my pantry - which was a fun Saturday project! I decided to use some leftover wrapping paper to cover the back wall, giving the space a more pulled together feel. The shelves were easy to pull out and clean, and then I used these fun baskets from Target to conceal all of the items.
TIP: The pantry can be both pretty and functional! I loved incorporating my brand colors into the space with baskets, a wrapping paper backsplash and fun green lettering on containers!


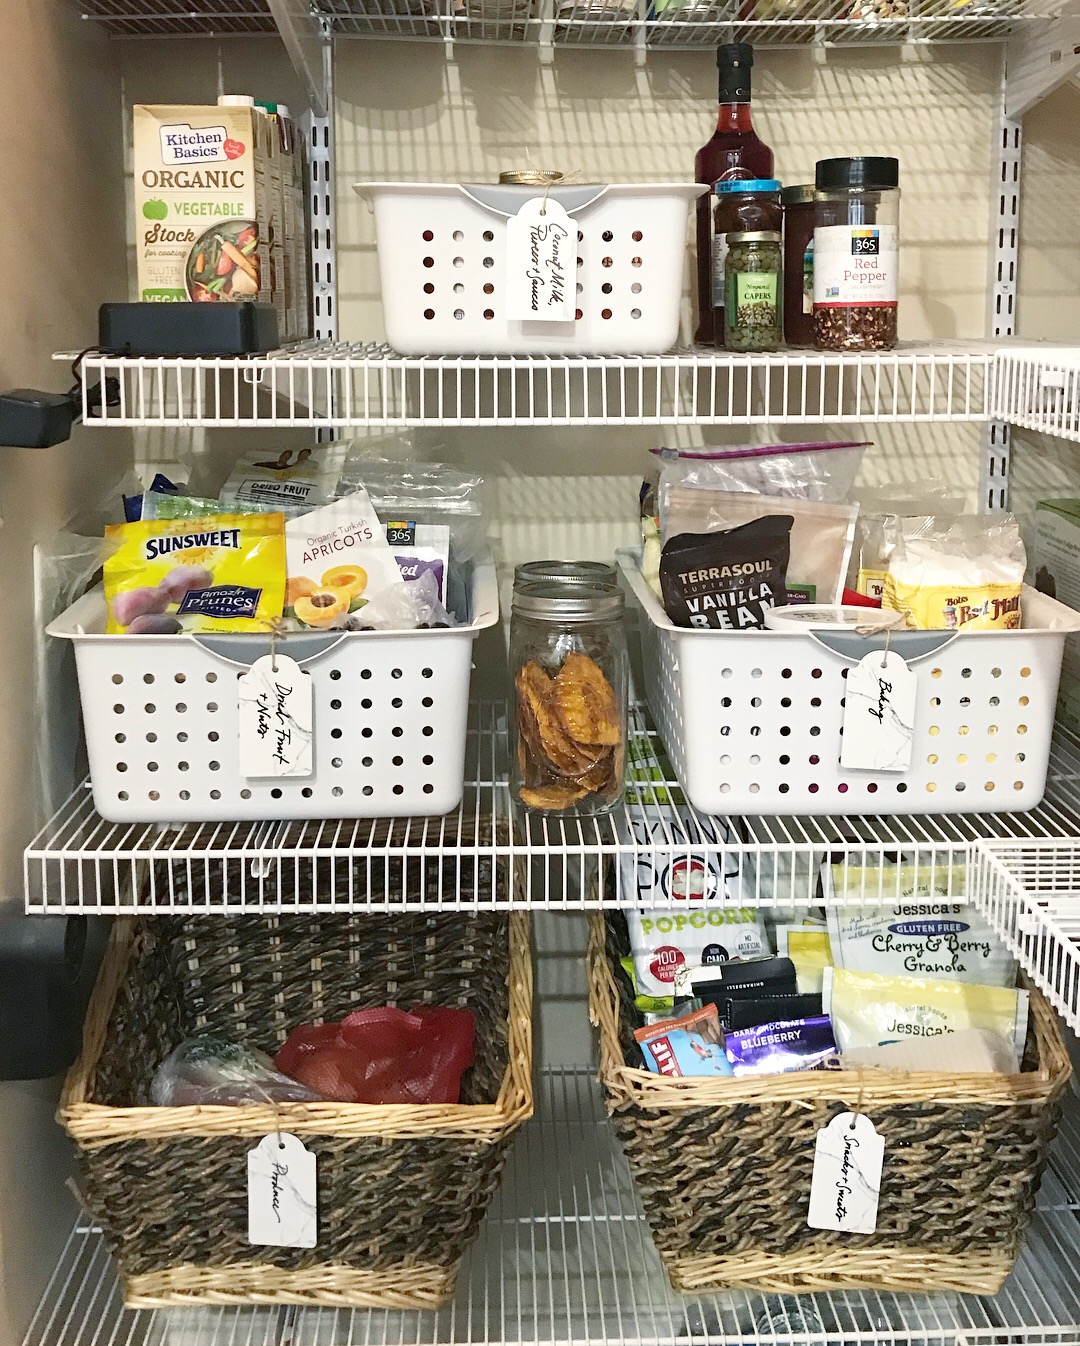
Pantry #4:
A ton of baking supplies needed to be at arms reach for this couple. Lot's of healthy snacks, nuts and dried fruit took over another shelf. With plenty of baskets on hand, we didn't need to do any shopping for extra storage supplies, but did label with gift tags to make it easy to sort items after a trip to the store.
TIP: Sort like with like, such as baking supplies on a shelf, breakfast items on another, canned goods on a third, etc. It makes a world of difference and also allows you to see what you have on hand and what you need much quicker!


I'd love to know, what is your favorite space to organize? Or what is your least favorite spot to organize? For that, I know just the girl to tackle it!